
Image Optimization and Transformation with Cloudinary

undefined or mostly null.
The web is now dominated with more visual content than ever hence the need to consider ways of delivering these images with the smallest possible file size while maintaining optimal visual quality.
The less file size, the faster the browser can download and render the image, the optimal visual quality, the more satisfied your users will be. This, therefore, leads to better user experience, increased retention rate, conversion rate, and user satisfaction.
There are many existing techniques and algorithms used to enhance and optimize images already. In this article, I'll introduce you to an amazing technique (based on my opinion and experience), which would help you better enhance and serve your media assets using a cloud-based image and video management platform.
Introduction to Image Optimization
Original Images are often created with the original extra-high resolution to ensure optimal visual quality, thereby resulting in high file size. This would lead to images delivered slowly when used in web pages. Not cool, right?
So how then do we deliver images on the web with optimal speed and optimal visual quality? At the end of this article, you should be able to answer this :).
The Need for Optimization
The web is filled with tons of images; virtually every website on the internet has more than one image. Optimizing images allows you to deliver high-quality images in the right format, dimension, size, and resolution while keeping the smallest possible size.
According to Kissmetrics, 47% of users expect a page to load in 2 seconds or less, and users will abandon a website that takes more than 3 seconds to load. This will drastically reduce your conversion rate (The number of visitors turned into users).
The conversion rate is the number of conversions divided by the total number of visitors. For example, if an e-commerce site receives 200 visitors in a month and has 50 sales, the conversion rate would be 50 divided by 200, or 25%. ~ Optimizely
Optimizing Images will:
- Improve page load speed.
- Improve the user experience.
- Improve SEO ranking.
And this can be done in different ways, either by resizing the images, caching or compressing the image size.
Introducing Cloudinary
Cloudinary is the market leader in providing a comprehensive cloud-based image and video management platform. Cloudinary is being used by hundreds of thousands of users around the world, from small startups to large enterprises. ~ Source
For better understanding, this is how Cloudinary image optimization works:
- Upload your image(s) to their service
- You get a URL for the image
- Apply transformations (if you want) to optimize the images
- Load your image on your website via the URL
- Bingo! you have optimized image(s)
Whenever you apply any transformation to an image, Cloudinary performs the following optimizations by default:
- Strips all associated metadata from the transformed image file leaving the original image untouched
- Applies an automatic quality adjustment to generated WebP, GIF, JPEG, and JPEG-XR image formats.
- Runs optimization algorithms to minimize the file size without impairing the visual quality when generating images in the PNG, JPEG, or GIF format.
Getting Started
The process of getting your images on Cloudinary is pretty quick, but before I show you how-to, you should note that Cloudinary is a PAID SERVICE :). Don't panic, there is a FREE plan for developers and businesses but with limitations (limited credits: sort of internet data for using Cloudinary services).
With the FREE plan, you get 25 credits. One credit equals 1000 transformations or 1GB of managed storage or 1GB of monthly viewing bandwidth or 500 SD video processing seconds or 250 HD video processing seconds.
For now, you don't need to worry about PAID plans, but as your images and their bandwidth increase, your credits get maxed out, and you will need to upgrade to either the Plus ($89/month) or Advanced plan ($224/month). See all plans here.
Let's get started, yeah?
STEP ONE
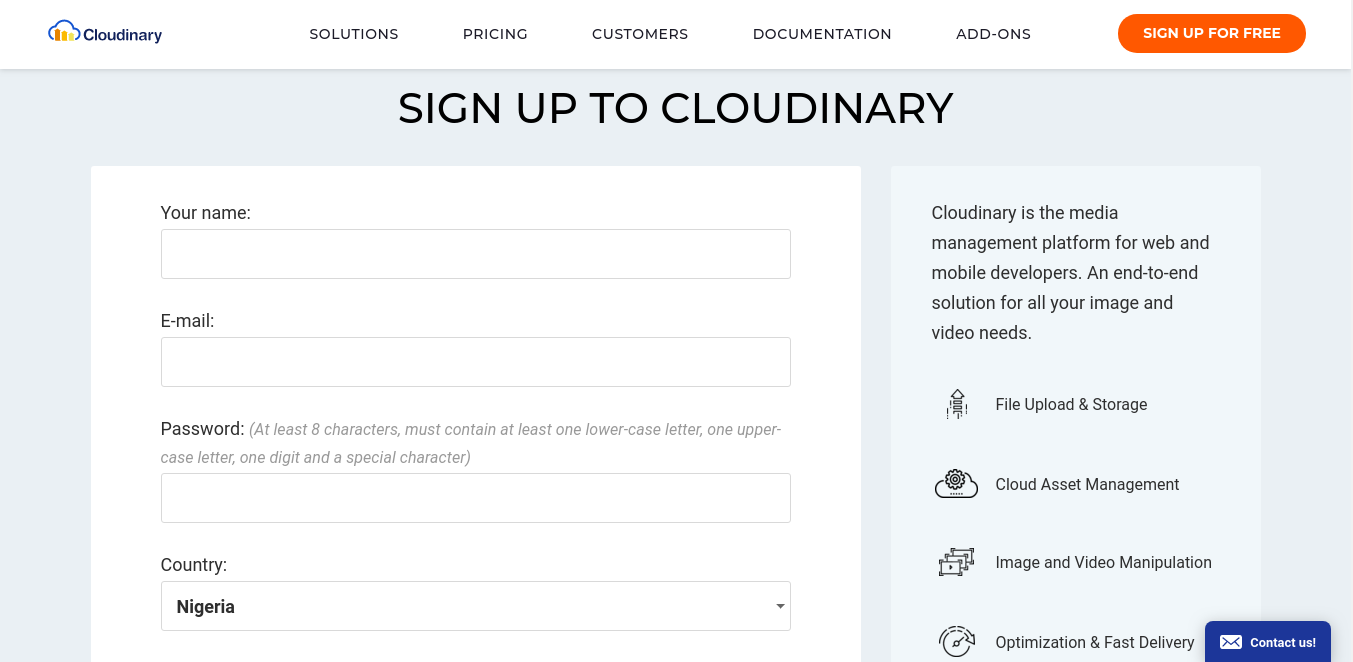
Create a Cloudinary Account here. Follow all the prompts and fill them appropriately.
Upon successful creation of your account, you will get a Cloud name, API Key, API Secret, and Environment variable, which can be found in your console dashboard. The API keys and Secrets are useful when you're working with Cloudinary SDKs, but in this article, we'll only use the HTTPS CDN method to fetch images.
STEP TWO
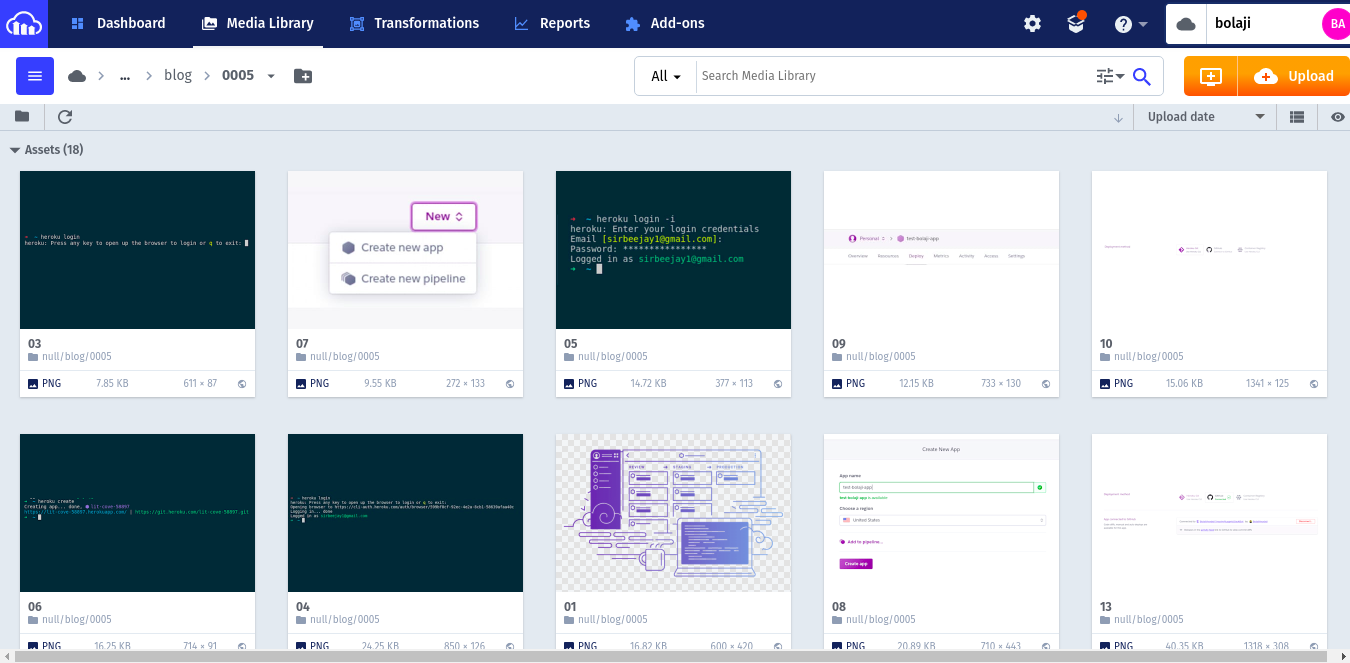
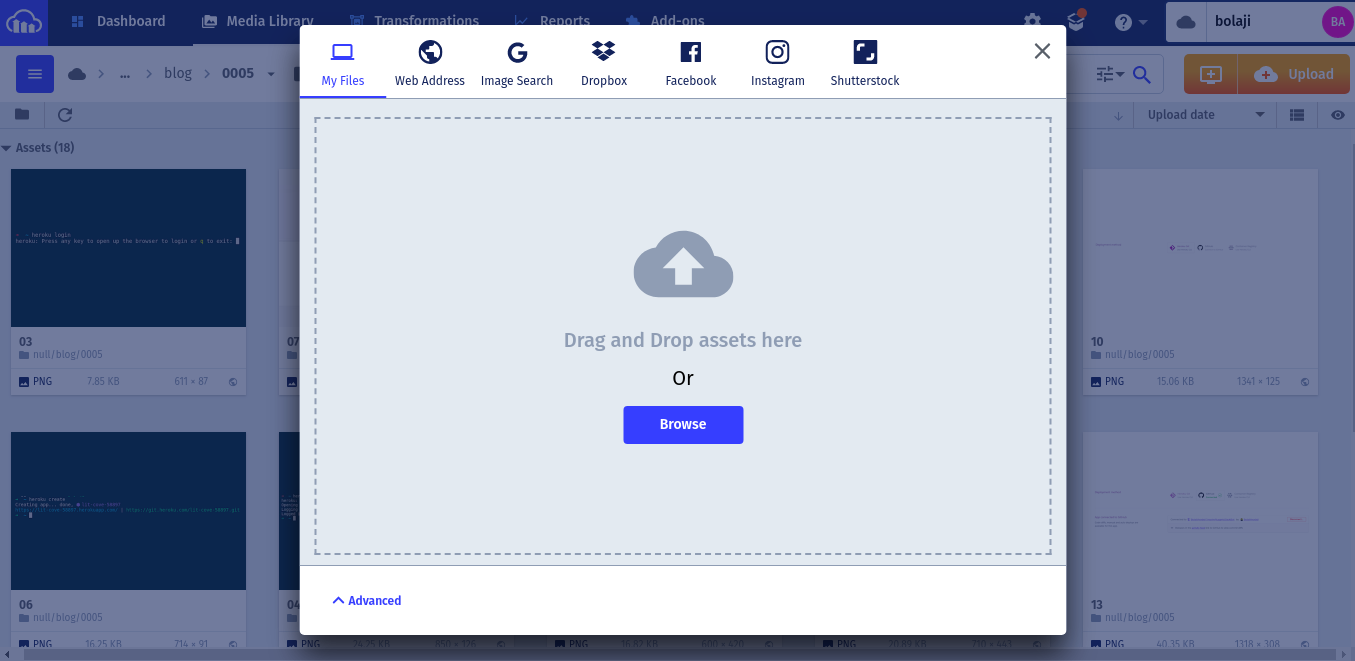
Head to your media library in your Cloudinary console, where all your uploaded media assets will be listed. If your account is newly created, then you will only find a sample image. Treat this media library like a drive where you can create folders, subfolders, and add images to them.
STEP THREE
Create a new folder and upload your desired image or upload it in the root folder.
STEP FOUR
Click on the image you uploaded then click on the 🔗 icon at the left top corner of the image.
You have now copied the URL of the uploaded image.
On my end, I uploaded this image and here is the generated URL
https://res.cloudinary.com/bolaji/image/upload/v1583358060/hashnode_banner.png
Now you can use this URL as your image source attribute and load on your website. I'll load the URL above like so:
<a href="https://hashnode.com" target="_blank" rel="noopener noreferrer">
<img src="https://res.cloudinary.com/bolaji/image/upload/v1583358060/hashnode_banner.png" alt="Hashnode Banner"</img>
</a>
Pretty cool, right?
Cloudinary Automatic Image Transformations
Cloudinary allows you to add some transformation parameters and values to your image. Its algorithm analyzes the image to find the best quality compression level and optimal encoding settings based on the image content and the viewing browser, to produce an image with good visual quality while minimizing the file size.
- Automatic Image Quality and Encoding: q_auto (quality)
This transformation allows you to control the visual quality and compression level of JPEG, JPEG 2000, JPEG XR, WebP, and GIF images with the quality parameter (q in URLs).
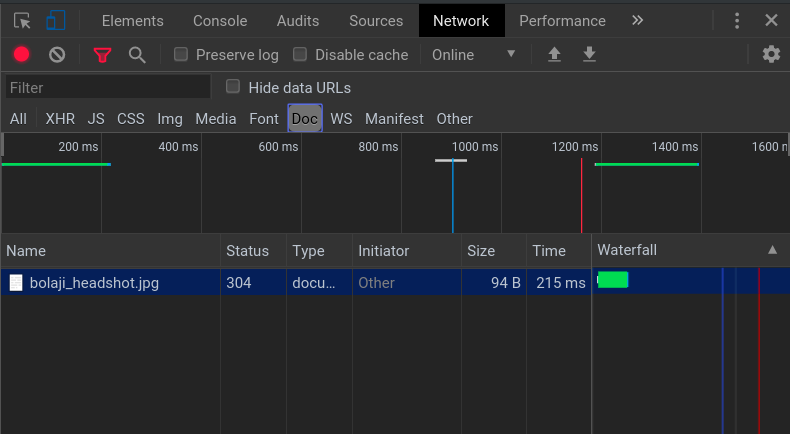
I uploaded this image to Cloudinary with an initial file size of 1.46 MB
Now I apply the q parameter with value auto (q_auto) just after the /upload/, and the image is delivered with optimal visual quality while minimizing the file size to 297 KB based on the image content and the viewing browser. That's about 1163 KB lost in 215 ms.
https://res.cloudinary.com/bolaji/image/upload/q_auto/v1583381262/bolaji_headshot.jpg
- Automatic Image Fetch Format: f_auto (fetch format)
This transformation allows you to analyze the image content and select the best format to deliver with the fetch parameter (f in URLs).
Different browsers support different image formats, Cloudinary allows you to deliver the best format according to the browser used by each of your visitors while saving bandwidth and optimizing delivery time.
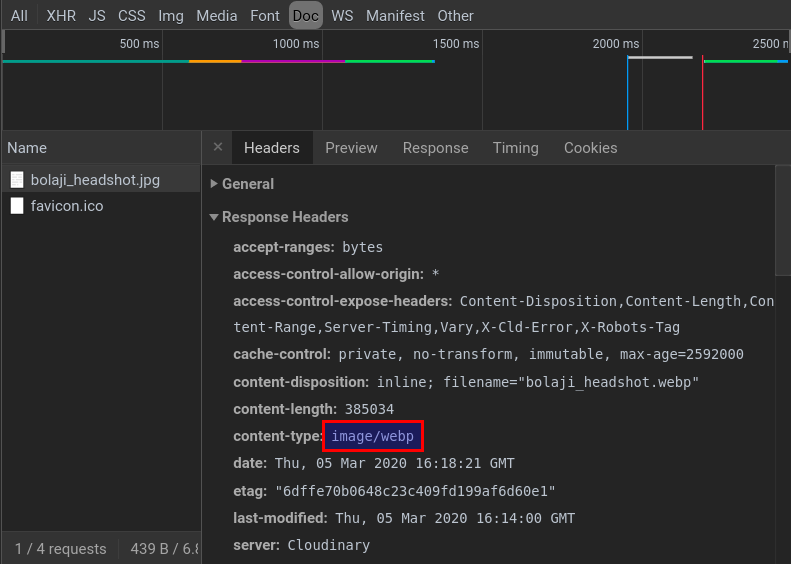
I uploaded this image to Cloudinary with an initial file size of 1.46 MB
Now I apply the f parameter with value auto (f_auto) just after the /upload/, and the image is delivered as WebP to Chrome browsers (376 KB), JPEG-XR to Internet Explorer browsers, or as a regular JPEG to browsers that support neither format.
https://res.cloudinary.com/bolaji/image/upload/f_auto/v1583381262/bolaji_headshot.jpg
If you add the f_auto and q_auto parameters, then Cloudinary will deliver WebP and JPEG-XR to the compatible browsers but might deliver selected images as PNG-8 or PNG-24 if the quality algorithm determines that as optimal.
Using the automatic format and automatic quality is most recommended as it allows Cloudinary's algorithm to decide how to deliver the image based on the user's browsers leading to better visual quality and optimal images.
https://res.cloudinary.com/bolaji/image/upload/q_auto,f_auto/v1583381262/bolaji_headshot.jpg
Bonus: Cloudinary Build URL
There is a lighter Cloudinary URL builder for images and videos, written in TypeScript by Maya Shavin. With Build URL, you can generate URLs for images and videos on-the-fly, auto-detect optimized format for images and videos per browser, dynamically fetch and transform images and videos from remote sources, and much more.
Upon a successful installation and setup, you can then generate delivery URLs with transformations for media assets like so:
import { buildImageUrl } from 'cloudinary-build-url'

const url = buildImageUrl('example', {
  cloud: {
    cloudName: 'demo',
  },
  transformations: {
    resize: {
      type: 'scale',
      width: 500,
      height: 500,
    }
  }
})
Learn more about the library and how to get started in the official docs here. You can also contribute to the library.
Conclusion
The faster your website loads images, the faster your website loads, the better your SEO ranking becomes, the better your user experience becomes, the more users interact with your website/ product, the increased your conversion rates become. It's a win-win, satisfy your users and increase your conversion rates.
I consider this article fundamental as there is so much more you can do with Cloudinary to manage your media assets, and I hope this helps you find your way to the numerous other transformations you can perform with Cloudinary :).
Further Resources
- Cloudinary Image Transformation Documentation
- Compress Images for Web and Boost Performance on Your Site
- Automatically Reduce Image Size Without Losing Quality
- Compression of Image Files With Only One Line of Code
- How to make your website load lightning fast with WebP images
- Automatically Reduce Image Size Without Losing Quality
- Best Image Optimization Techniques: Expert Roundup