Handling Static Forms, The Client-side Way

undefined or mostly null.
Forms are interactive elements used to get input from the user for further processing. Most times, forms are just used to receive input that requires no processing but rather just receiving data, this might be a contact form, RSVP, get a quote e.t.c
Traditionally, forms are managed with the help of a server (also known as server-side), but this is more efficient when you're processing the data from the form, maybe a user registration form where the form data is validated, authenticated, and saved in a database.
When you're building a simple form where you're only receiving data from the user and not processing (i.e., contact form), the goal is to get the data from the form and send it to your company support email (e.g., info@…, support@…)
Using a server here is not ideal and is only overkill, and what if you're just building a static site? There should be an easier way of doing this client-side, right?
In this article, I'll introduce you to two methods of handling form data client-side in static sites. There are other methods, but I've used these two and considered them to be better and easier.
NO hectic configurations, NO servers, NO serious stuff, just build your form, do some little tweaks, the user submits, and bingo it heads straight to your designated email. :)
STARTER FORM
For this article, I've built a basic form with HTML5 and Bootstrap 4, you can fork it from the Codepen below.
Currently, this form uses none of the methods we'll talk about, at the end of the article; I'll provide the full
codefor both methods, you can then update the form and test. I've added a little validation, don't worry about that.
Now, let's get started!!
METHOD ONE

Formspree provides functional HTML forms via their platform with no PHP or JavaScript. Send your form to their URL, and it'll be forwarded to your email. No PHP, Javascript, or sign up required — perfect for static sites!
It is also Open Sourced.
Form handling with Formspree
- Build your form, we've done that already
(Follow the next step and update this form to use this method)
    <form action="https://formspree.io/you@email.com" method="POST">
        <input type="hidden" name="_subject" value="Bolaji's Form">
        <input type="hidden" name="_next" value="/thanks.html" >
        <input type="text" name="name">
        <input type="email" name="_replyto">
        <input type="text" name="phone">
        <input type="submit" value="Send">
    </form>
Now let's go over the new stuff added above.
- We changed the form's action-attribute to
https://formspree.io/you@email.com[replace your@email.com with your own email.] This is simply sending your form data to formspree then to your email. Formspree is acting as a third party here. - I've added some name attributes to the input fields. This is just configuring each field so we can grab the data and send it to formspree.
— For Email address, I added a _replyto attribute (This just mean, you'll be able to quickly reply to the user who originally submitted via email)
— I've added a _subject attribute. This value is used for the email's a subject so that you can quickly reply to submissions without having to edit the subject line each time.
— I've added a _next attribute. By default, after submitting a form, the user is shown the Formspree "Thank You" page. You can provide an alternative URL for that page like so: <input type=”hidden” name=”_next” value=”/thanks.html" />
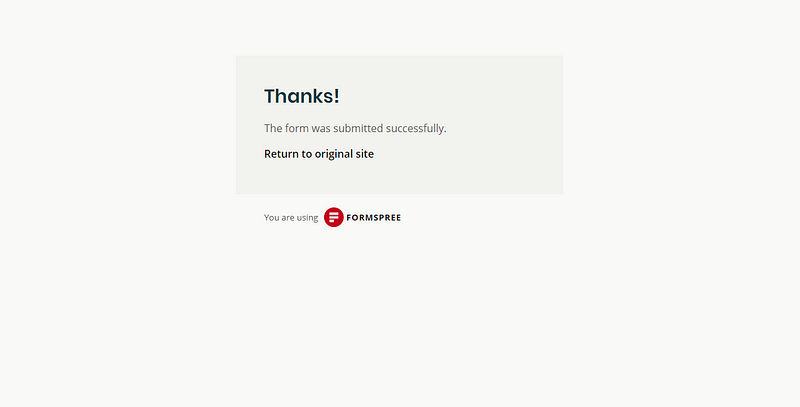
formspree default success page
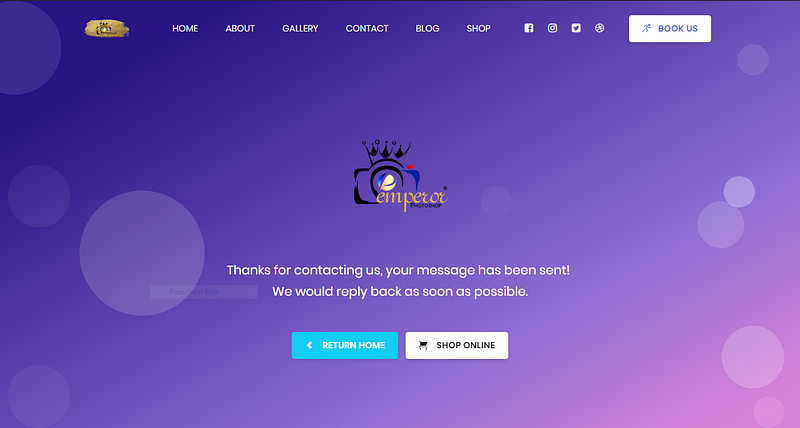
custom success page I built for a client.
- We added a value attribute to the send button [value=" Send"]
This is our Thanos, one snap at this button, and your form is erased and its data sent to your email.

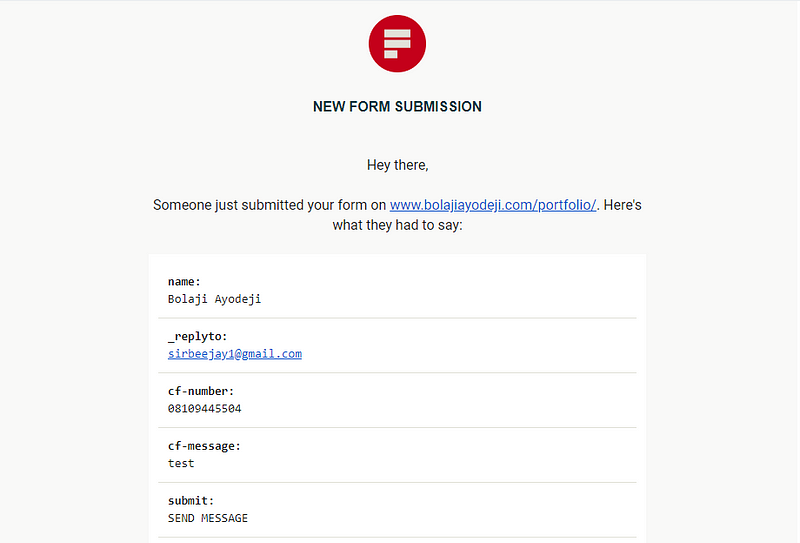
That's all to using formspree :) Although there are other configuration settings for several other features, you can check here.
Things to note!
- You don't need to signup to use formspree, just add your action attribute, and you're good to go. You only signup if you want a Paid plan.
- Make sure your form has the
method=" POST"attribute - Formspree uses reCAPTCHA to identify spam submissions. After a user clicks our Thanos, they'll have to do some CAPTCHA verification. Cool way of stopping spam submissions.
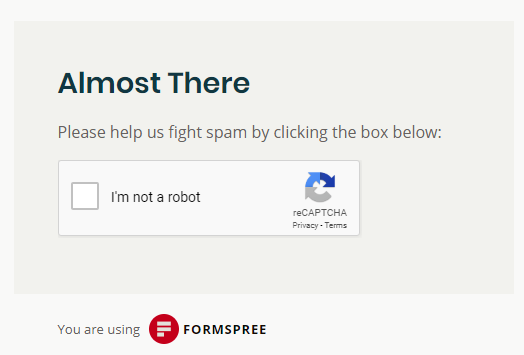
- After that, the form is sent to your designated email, and the custom success page is displayed!
- Formspree does not read your form data, they have no access to it, they're just a delivery service, you send your parcel sealed to them, they deliver to your customer, cool, right? :)
- Formspree is free for 50 submissions per form per month ONLY! Need more, you can upgrade to the Paid plan.
- Formspree has both Free and Paid plans. Paid plans have several other features like admin dashboard, unlimited submissions, AJAX handling e.t.c Paid plans, and their features can be found here
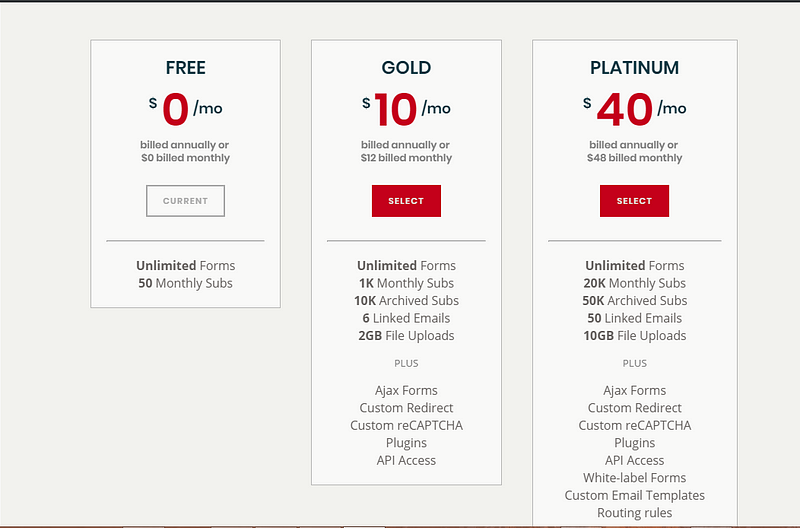
If you're building a basic site, you shouldn't worry about Paid plans; Paid plans are mostly needed by Enterprise applications and companies; the Free plan would cover all your needs. I use this for some client projects too :)
- Formspree premium users can submit forms via AJAX. Just set the Accept header to application/json. If you're using jQuery this can be done like so:
    $.ajax({
        url: "https://formspree.io/FORM_ID",
        method: "POST",
        data: {message: "hello!"},
        dataType: "json"
    });
Well, this is for paid users :)
If you don't use jQUERY like me and you're tired of the lengthy AJAX default syntax, check out simpleAJAX library, a simple library I built for handling HTTP requests. Like so:
    const http = new simpleAJAX;

    const data = {
        "name": "Bolaji Ayodeji",
        "email": "hi@bolajiayodeji.com",
        "message": "hi"
    };
    http.post('https://formspree.io/FORM_ID', data,
    (err, user) => {
        if(err) {
         console.log(err)
        } else {
         console.log(user);
       }
     });
A star would make me happy! :)
If you're into React, ZEIT has a comprehensive guide on using Formspree with Create React App, complete with deployment instructions. Highly recommended!
METHOD TWO

Netlify offers form handling for sites deployed on their platform.
Form handling with Netlify
- Create an account on Netlify and deploy your site there.
Please watch this 14min video by @JamesQuick below if you don't know what Netlify is. Learn about all of the awesome features in Netlify like Continuous Deployment, Lambda Functions, Split Testing, Preview Branches, and more!
- Now that you have deployed your site let's create the form again
    <form action="/thanks.html" name="Bolaji's form" method="POST" data-netlify="true">
        <input type="text" name="name">
        <input type="email" name="email">
        <input type="text" name="phone">
        <input type="submit">
    </form>
Now let's go over the new stuff I added above.
- Netlify is quite easier, you simply add the
netlifyattributedata-netlify= "true"to the<form>tag, and you can start receiving submissions in your Netlify site admin panel. - Here, the
actionattribute serves as your custom success page
That's all; your form submissions go straight to your Netlify admin panel.
Settings > Build & deploy > Environment > Environment variables
(Watch the video above if you don't understand what the panel means)
Things to note!
- Your site must be hosted on netlify to use this method
- You must add the netlify attribute for the form to work
- You can find all submissions to your Netlify forms in the Forms tab of your site dashboard. Settings > Forms
- Netlify has free and paid plans too
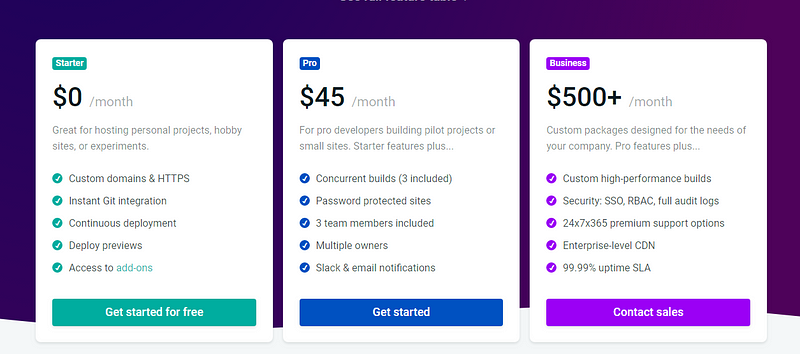
- Netlify has several built-in notification options for verified form submissions, including email and Slack notifications. (Only available in Paid plans). You can find them in Settings > Forms > Form notifications.
- Netlify also integrates with Zapier, so you can set up triggers that send your verified form submissions to any of the 500+ applications in their catalog.
- All notification emails are sent from
team@netlify.com, and any replies to a notification will go to that address. If you would like to respond to a form submitter, you will need to enter their address manually. - Netlify Forms can receive files uploads via form submissions too :).
To do this, add an input with type=" file " to any form. When a form is
submitted, a link to each uploaded file will be included in the form submission details.
- Netlify is limited to 100 submissions per month and 10MB uploads per month for the FREE plan, If you want more, you'll need to upgrade
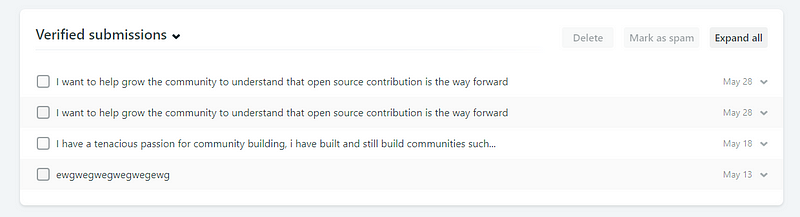
form submissions in the admin panel
And that's all!!
Final HTML Form code
Conclusion
One thing to note about formspree is that the free version leaves your email address exposed to scrapers and bots, so you might want to set up a temporary disposable email address while you use it. If you want to hide your email address by default, you'll need to upgrade your plan.
Do you want extra practice? Watch this tutorial video below by Brad Traversy and learn how to add a contact or any type of form to your website by using the Netlify form feature, including file uploads and spam filtering. [Full guide + practical code]
Useful Links
- https://www.netlify.com/docs/form-handling/
- https://forestry.io/blog/5-ways-to-handle-forms-on-your-static-site/
- https://gridsome.org/docs/guide-forms/
- https://zeit.co/guides/deploying-react-forms-using-formspree-with-zeit-now
- https://zeit.co/guides/deploying-statickit-with-zeit-now
Thanks for reading!