
How to Setup Google Analytics 4 in a Next.js Project

undefined or mostly null.
Google Analytics is a web analytics service that tracks and reports several types of website traffic. GA4 (Google Analytics 4) was recently released, which Google claims is a new property designed for the future of website traffic measurement. Technically the upgrade comes with better features and offerings that you can learn more about here, and on 1st July 2023, the standard Universal Analytics (UA) properties will be deprecated. I recently had to set up GA4 on a Nextjs project and thought to document the steps here for myself and YOU. This will be a concise tutorial and I'd highlight the steps you need to set up the gtag.js script.
Prerequisites
- You already know how to use Google Analytics.
- You've built or you're building a project with Nextjs.
- You already know some JavaScript and Reactjs.
Step One
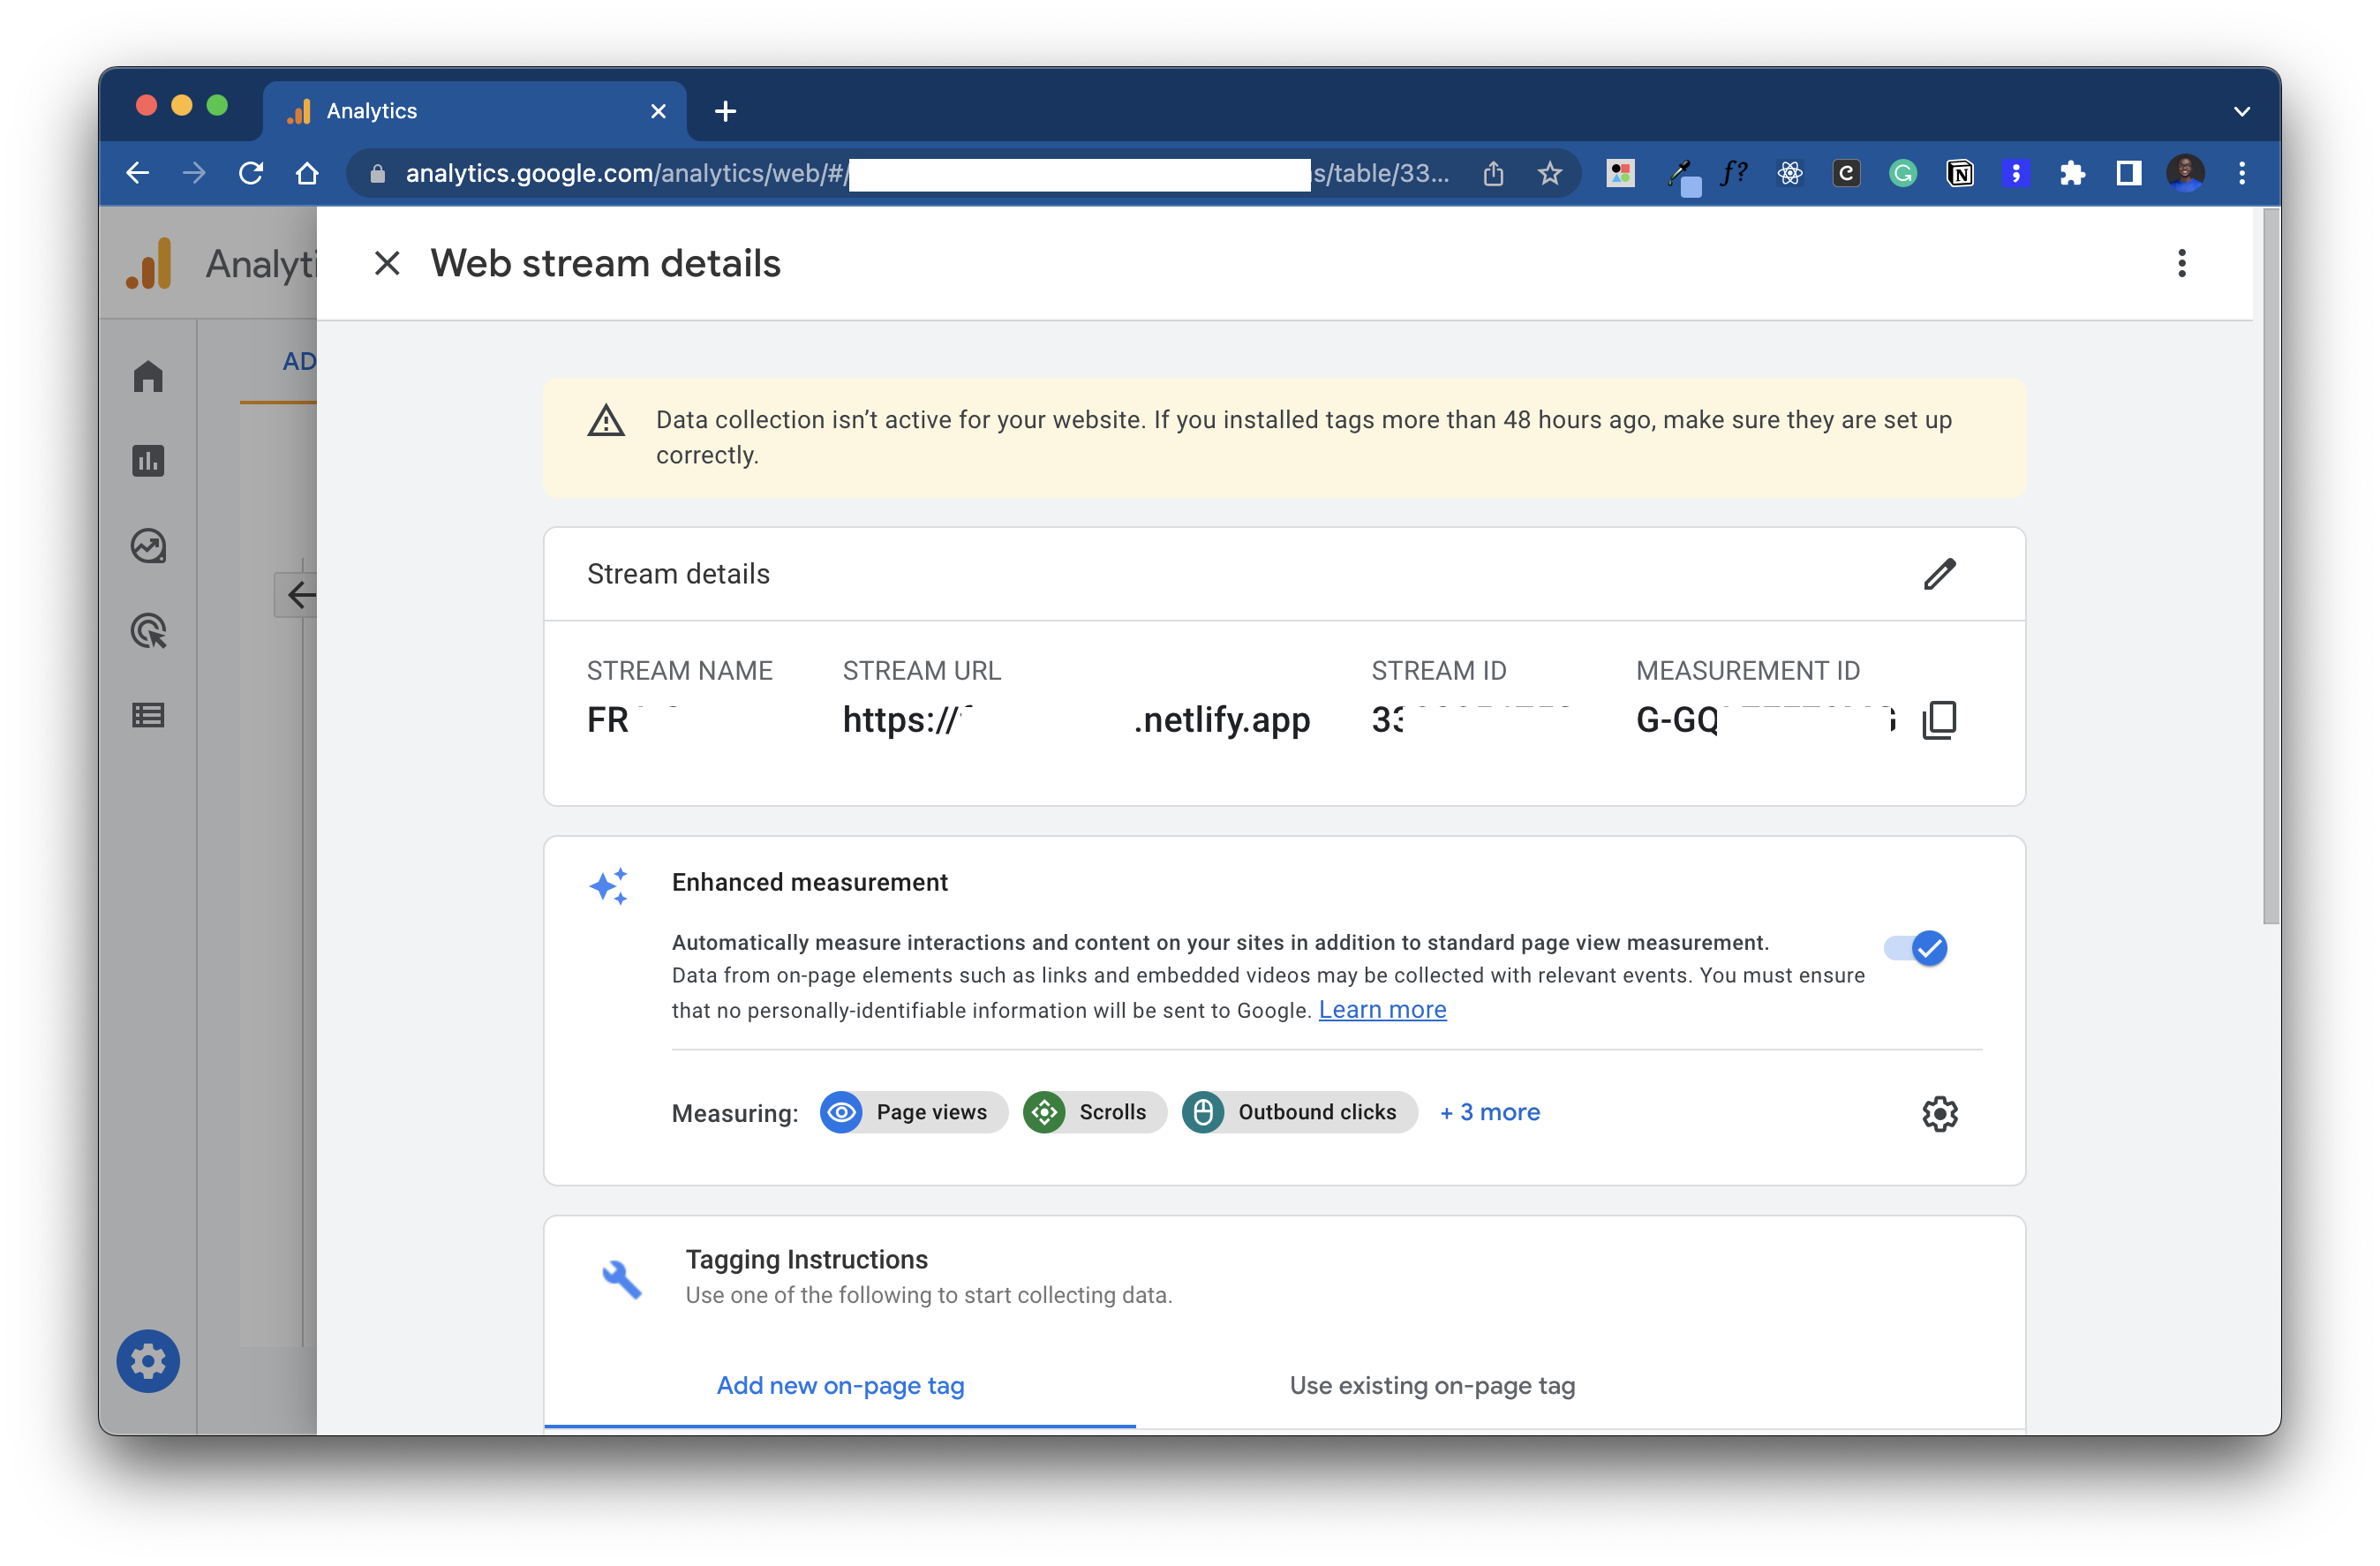
Read this guide from Google's documentation to create a new GA4 property and data stream. Once successfully, you should have a generated MEASUREMENT ID that looks like: G-YQR79670LO. In the next steps, you will use this to configure your Nextjs web progress to track user interactions on your website and send streams of data back to Google Analytics.
Step Two
Create a .env file and add the MEASUREMENT ID as an environment variable like so:
NEXT_PUBLIC_MEASUREMENT_ID="<add_your_measurement_id_here>"
Step Three
Open your _app.js or _app.ts or _app.tsx file in /pages, import the variable created earlier, and Next Script component (Nextjs's extension of the HTML <script> element) like so:
import Script from "next/script";
const GA_MEASUREMENT_ID = process.env.NEXT_PUBLIC_MEASUREMENT_ID;
Step Four
Now add the code below after your <Head> component.
<Script
  src={`https://www.googletagmanager.com/gtag/js?id=${GA_MEASUREMENT_ID}`}
  strategy="afterInteractive"
/>
<Script id="google-analytics" strategy="afterInteractive">
  {`
    window.dataLayer = window.dataLayer || [];
    function gtag(){window.dataLayer.push(arguments);}
    gtag('js', new Date());
    gtag('config', '${GA_MEASUREMENT_ID}');
  `}
</Script>
The afterInteractive strategy on the Script component loads the script immediately after the page becomes interactive. Now you can deploy your changes to your desired host (maybe Netlify, Vercel, or Cloudfare Pages). Although, before deploying, ensure to add the environment variable (NEXT_PUBLIC_MEASUREMENT_ID) you created earlier in your deployment service. Most hosting services provide this option, so you can easily add variables via their dashboard. Once done, you should be good to go. It might take hours to reflect on your GA dashboard completely, but you should be getting hits already.
To confirm if you did everything right when you deployed your website, inspect the website's elements and you should see the script tags below at the bottom of the served HTML page.

Conclusion
I hope you learned something and you found this article useful. Tracking user activities on your website is a great way to learn more about your users and how to serve them better or serve those you're not serving yet. In all, it's essential for all kinds of projects on the web. Cheers! 💙