


Open Source is a flourishing and beneficial ecosystem that publicly solves problems in communities and industries using software through a decentralized model and community contributions. On the other hand, version control is an essential part of everyday modern-day software engineering practices and is the core backbone of open-source. In this article, you will learn more about Open Source, Version Control with Git and GitHub, and how to contribute to projects effectively. This will be a quick overview pocket guide, and I'll try to mention the fundamental details you need while linking you to other external resources for further learning.
Let's roll!
Prerequisites
- Basic programming knowledge
- A working laptop running on any operating system
- An IDE and required tools for programming
- A smile on your face :)
What Exactly is Open Source?
According to Wikipedia, Open Source (also known as OSS) is: “The source code of a software application that is released under a license in which the copyright holder grants users the rights to use, study, change, and distribute the software and its source code to anyone and for any purpose.”
Basically, this is a public code base on the internet that is developed either collaboratively by multiple people or by one person. OSS allows users to adapt software to their personal needs and publish any modification for users with similar needs either on the original project or as another project.
Why Open Source?
OSS is about collaborating with people from different regions, cultures, and technical backgrounds working remotely. This is why it is an essential practice for anyone working in tech to enable them to learn and build the collaboration skills needed to work effectively with software teams on software products.
Some benefits of contributing to open-source projects include:
- Opportunity to build technical work experience.
- Opportunity to gain experience with collaborating with people.
- Opportunity to build communication and soft skills.
- Opportunity to gain domain-specific industry knowledge.
- Possibility to earn money or certain financial rewards.
- Access to mentorship and network opportunities.
- Ultimately, career growth.
Fields in Open Source
Here are several ways you can contribute to open-source with your existing skills:
1. Software Engineering
- Writing code
- Writing tests for code
- Reviewing code
- Fixing bugs
- Beta testing
- QA testing
2. Data Engineering
- Writing code
- Data collection and cleaning
- Data analysis
- Data visualization
- Research
3. Content Writing
- Writing documentation
- Writing tutorials
- Writing translations
- Writing newsletters
- Creating or editing content
4. Design
- Designing designs 🥹
- UX surveys and research
- Creating styles guides
- Producing brand materials
5. Marketing
- Promoting projects
- Engaging users on the internet
- Converting new users through certain means
- Developing marketing strategies
- Running Producthunt launches
6. Project Management
- Managing the development phases of the project
- Managing the allocation of resources and funds
- Tasks and issues organization
- Tooling and automation
7. Community Management
- Managing people and contributors
- Organizing events
- Organizing programs
- Enforcing the code of conduct
8. Reporting bugs
9. Research
10. Idea suggestions
11. Funding
12. Et. Cetera
Getting Started with Open Source
The first thing you need to do is to understand what your skills and strength are. The fields in the OSS section should have given you ideas of certain things you can do. This is very important because it gives you the right perception and confidence about who you are and what you can do. Then you can use this knowledge to search for projects matching your skills. For example, Ruth has some intermediate experience with the JavaScript programing language, advanced understanding of the Python programing language, some technical writing experience, and can write some unit tests. With this, Ruth can contribute code to some JavaScript and Python projects based on the complexities of the tasks (offering her an opportunity to gain more experience) and can contribute to writing documentation for any project.
Next, you can decide to find some projects that you're interested in (this is optional but something you can consider and use as a guide to finding projects). For example, you might be interested in general developer toolings for a specific language, projects related to e-commerce, climate change, education, UI components, web performance, etc.
Once you have completed the first and second phases, it's time to find projects. Here are some places:
- GitHub Showcase: A collection of projects with a history and reputation for being welcoming to new open source contributors.
- GitHub Explore: a recommendation of projects on GitHub based on your interests.
- GitHub Topics: a collection of projects on GitHub categorized based on popular topics.
- Good First Issues: a collection of open issues on GitHub with the ability to filter by programming language, issue label, or repository.
- Pull Request Roulette: a list of pull requests submitted for review belonging to open-source projects hosted on Github.
- Ovio Projects: a curated list of projects and issues with the ability to filter by programming language, topic, and activity.
- Code Triage: a collection of different GitHub repositories to pick from, and you receive a different open issue in your inbox every day.
- Up For Grabs: a curated list of projects which have curated tasks specifically for new contributors.
- 24 Pull Requests: a program that allows you to find open-source projects to contribute to and gift them your contribution as a Christmas gift.
...and lots more. With these, I believe you can begin finding projects to contribute to.
I'd recommend you check out the Open Sauced tool created by @bdougie. With this, you can find projects and manage your OSS contributors on a dashboard with project intelligence, community insights, and contributor analytics (this is very useful for maintainers too). You should also join the Open Source Community Africa to network and collaborate with over 3,200+ contributors and creators across Africa.
Git and GitHub
Before we proceed to the main stuff, you will need some knowledge of version control to contribute to open-source. For some kinds of contributions, you might not need this, but it won't hurt to learn it once and for all. Version control is the process of tracking and managing changes to software code or a set of files over time. Git is the most widely used modern version control system in the world today. It's A distributed and actively maintained open source project initially developed in 2005 by Linus Torvalds (the famous creator of the Linux kernel). GitHub, on the other hand, is a web-based hosting service for version control using Git that is mostly used for software code (there's also GitLab or Bitbucket if you prefer those, but most OSS projects are hosted on GitHub). If you want to learn everything about Git from start to finish, then take this course, read the docs, or read the Pro Git book. If you're a student at AltSchool Africa's School of Engineering, you should have access to the Introduction to Open Source course I taught, which covers most of the foundational concepts of Git and all.
Anyways, download Git for your most preferred operating system here, configure it like so:
git config --global user.name "Bolaji Ayodeji"
git config --global user.email <your_email>@gmail.com
git config --global init.defaultBranch main
Now you can use Git to manage your code locally for your projects as a practice (if you don't know how to use it already). It's nothing too serious; these are the basic commands you will often use while contributing to OSS projects:
git clone <url>
git add <filename> or git add * or git add . or git add --all
git status
git commit -m "commit description"
git commit --amend
git push origin <branch name>
git push <remote> <localBranch:<remoteBranch>
git push origin main or git push origin --set-upstream <branch name>
git log
git pull
git branch -a
git branch staging
git checkout -b <branch name>
git checkout main
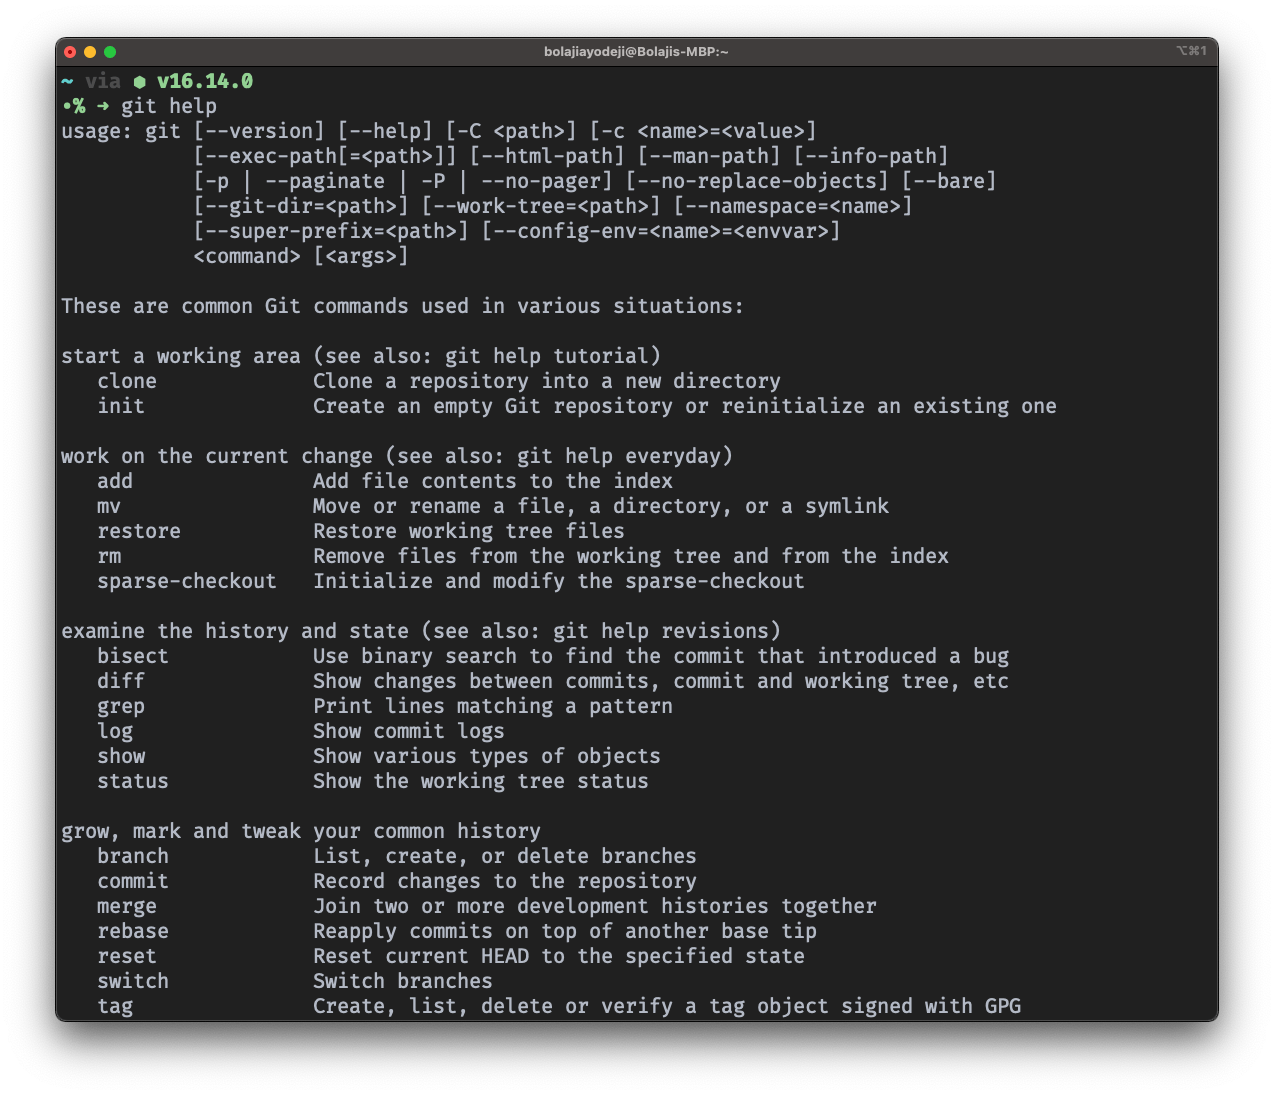
You can always run the git help command to learn more or git help <command name> to learn about a particular command, e.g., git help branch. As a bonus; if you’re a student (at any level), you can apply to get the GitHub Student Developer Pack and access the best developer tools and courses for FREE.
The Anatomy of an Open Source Project
OSS projects usually include the following sets of people:
- Creator(s): Those who created the project.
- Maintainer(s): Those who actively manage the entire project.
- Contributor(s): Those who contribute to the project (someone like you).
- Users: Those who use the project (developers or customers).
- Working group(s): A collection of contributors split into domain-specific groups to focus on a discussion or activity around a specific subject area (e.g., testing group, DevOps group, documentation group, code reviews group, performance group, etc.).
- Sponsor(s): Those who contribute to the project with financial support.
OSS projects usually include the following files (usually in text or markdown format) and documents:
- License: the legal document that explains how and to what extent the project can be freely used, modified, and shared (example).
- Code of conduct: the document that outlines the rules, norms, acceptable practices, and responsibilities of anyone who decides to participate in the project in any way—including what happens when someone violates any of the rules (example).
- README: the markdown file that displays under any repository on GitHub. This is usually the entry point to any project, so you might find the documentation here and links to other necessary documents. (example).
- Documentation: the file that contains all documentation resources for the project, including guides, API references, tutorials, data models, etc. (example).
- Contributing docs: the document that explains how to get started with contributing to the project, including installation guides, configuration, etc. (example).
- Security: the file that explains how to submit vulnerability reports or any security issue (example).
- Issues: the board with a collection of tasks and bug reports awaiting someone like you to fix them (example).
- Pull requests: the board with a collection of solutions submitted to fix certain issue(s) (example).
- Discussions: the place where maintainers, contributors, and users discuss on GitHub. Usually, you'd report bugs here or ask the community for help when you encounter an issue with the project (example).
And that's pretty much it. Most projects will also have a communication channel on maybe Discord or Slack for conversations and interactions between community members.
The Phases of Contributing to Open Source
Now you have some background knowledge, know how to use Git, have a GitHub account, and you have found some projects you would like to delve into. Here's what to do next in the exact order:
- Indicate interest under the issue you want to work on or send a message in the project chat communication channel to declare you want to work on XYZ. It's wise to do this to ensure someone else isn't working on the issue. If you don't get feedback quickly (different projects have different response rates depending on the number of requests), you can begin working on your solution slowly but try not to do anything serious till you get approval, or the issue is assigned to you.
- Request for assignment to an issue.
- Open an issue and clearly explain what you want to contribute, your thought process, and how you intend to build your solution. Try to wait for some feedback here in order to validate your idea against the requirements of preferences of the project owner (remember it isn't your project, the same way the company you work at isn't yours, so you can't make business decisions for them but can only suggest project features and all).
- Read the documentation and contributing guidelines.
- Fork the repository to your GitHub account.
- Clone the forked repository to your local computer.
- Set up locally following the contributing guidelines.
- Create a new branch locally.
- Work on your changes locally, versioning along the way.
- Test your changes locally.
- Push your branch and changes to your fork on your GitHub account.
- Submit a pull request to the original repository and await feedback.
- Review feedback, process the feedback, respond kindly, and make necessary changes.
- Done! ✅
Conclusion
We've come to the end of this guide, and I hope you find it helpful. This is a pocket guide you can keep close whenever you intend to contribute to a project, and you've forgotten something. If you're new to open-source, this can also be a good starting guide. Likewise, frequent contributors can use this guide to refresh their knowledge or fill up missing parts. In summary, this guide is for everyone, and I hope it helps you become a better open-source contributor. Cheers! 💙